

If I could, I would dip myself in glitter. Wouldn't be wonderful to go around life sparkling all over the place? Not in that....I'm the saddest Emo-vampire kind of way. More like....hey this glitter's sheen seems to cause a natural "Barbara Walters" lens effect. It'd be like my dream of permanently living in Valencia. The Instagram filter....not the place. Oh Valencia....you soften the harshest of angles.
Now that we've established my love of the sparkle let's talk about Thanksgiving. What HAPPENED to Thanksgiving? There's no pretty tree. There's no halls decked. There's nothing but brown as far as the eye can see. I mean.....you put a brown decoration on the table and someone's libel to throw a pat of butter on it and slide it down with the rest of the day's gluttony. Once that tryptophan kicks into high gear, you're lucky if people are even eating with their eyes open.
That's why I'm going to show you how to make the most amazing Thanksgiving centerpieces......providing you can still find the materials....since by society's new norm....it's now Valentine's Day.
GO TO WHERE THEY ARE NOT OUT OF THEIR GOURDS AND GRAB:
- gourds- Any size. Any shape. It's already November. Just be happy you scored some. Seriously. I went to buy candy on actual Halloween......ONE BAG LEFT. The rest were Christmas themed. Yesterday I went to grab leaf bags at the grocery store........SHOVELS AND ICE MELT. Hey guys....it's no longer proactive stocking. The person doing your ordering is hammered.
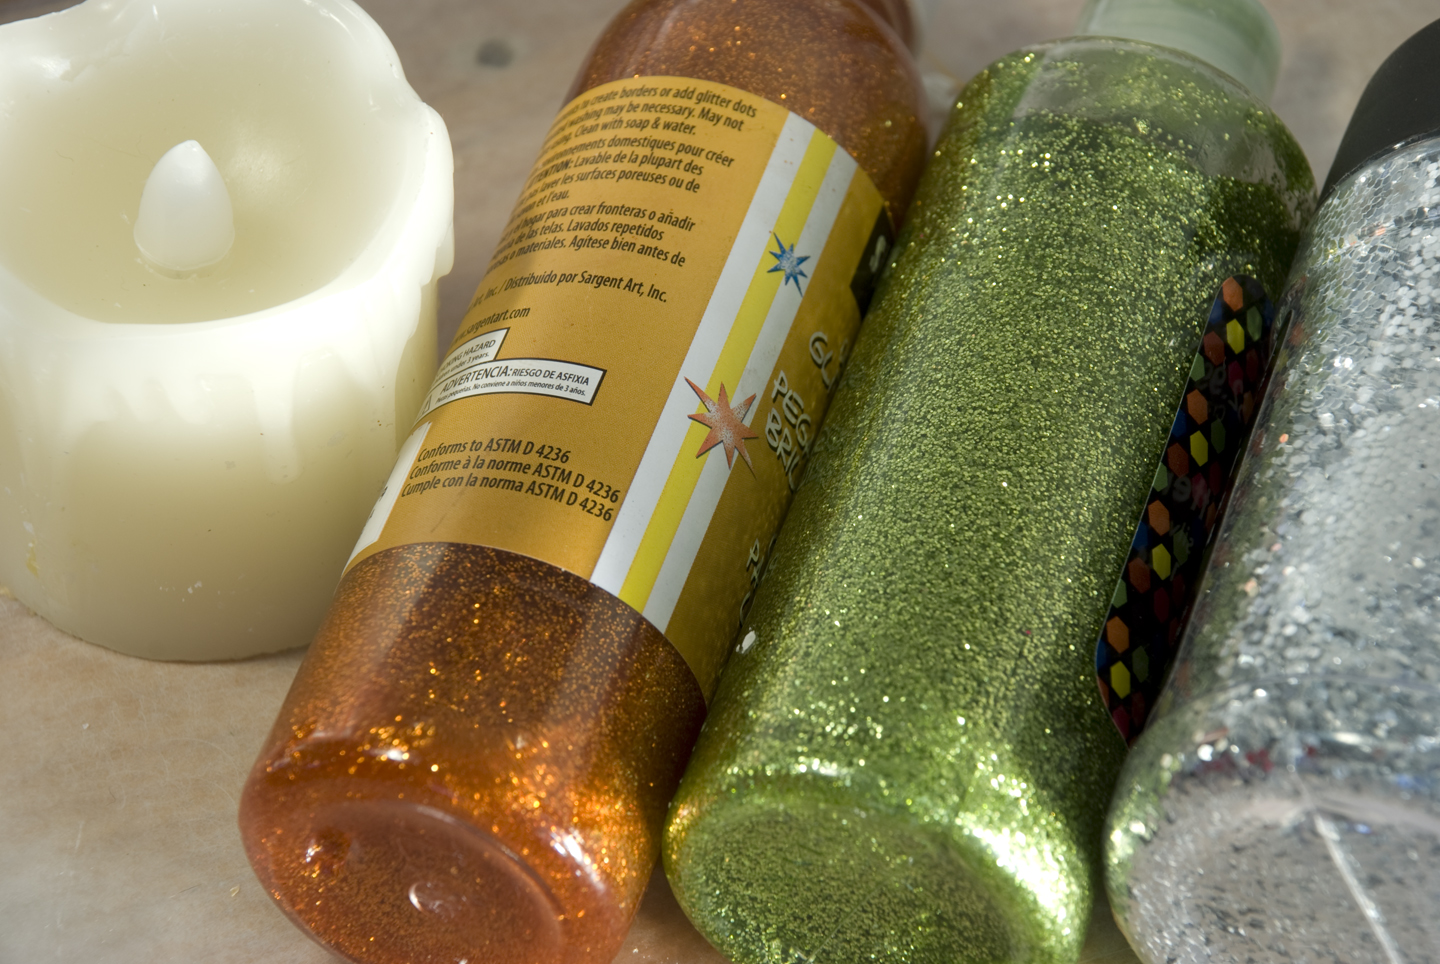
- glitter glue- It's like if Mod Podge and glitter had a baby. Could you imagine? I'd be the proud glitter baby grandma looking into the nursery like......"They've got my sparkle!" What?
- a scary serrated knife- If it doesn't scare you then you've obviously never almost cut the top of your finger clean off! Good for you! I guess that means you've never had stitches DIRECTLY THROUGH YOUR NAIL BED. And I still can't play Guitar Hero properly anymore. For the love of gaming, be careful!
- first aid stuffs- This house is STOCKED TO THE RAFTERS. Except for burn cream....which I found out last night!
- candles- Real ones suit this craft a little better than the fake ones. But I don't burn real candles anymore unless they are organic, free-trade, and handmade by an indigenous people. JUST KIDDING. I just happen to own the fake ones so we'll just use those.
- matches- Or the ability to push the button on the bottom of my fake one.
- mod podge- Used for the craft? Yes. Successfully?...........uhhhhhhh.....hey look at that butterfly!
Set aside DAYS of your life. This is one of THOSE crafts. Stupid patience.
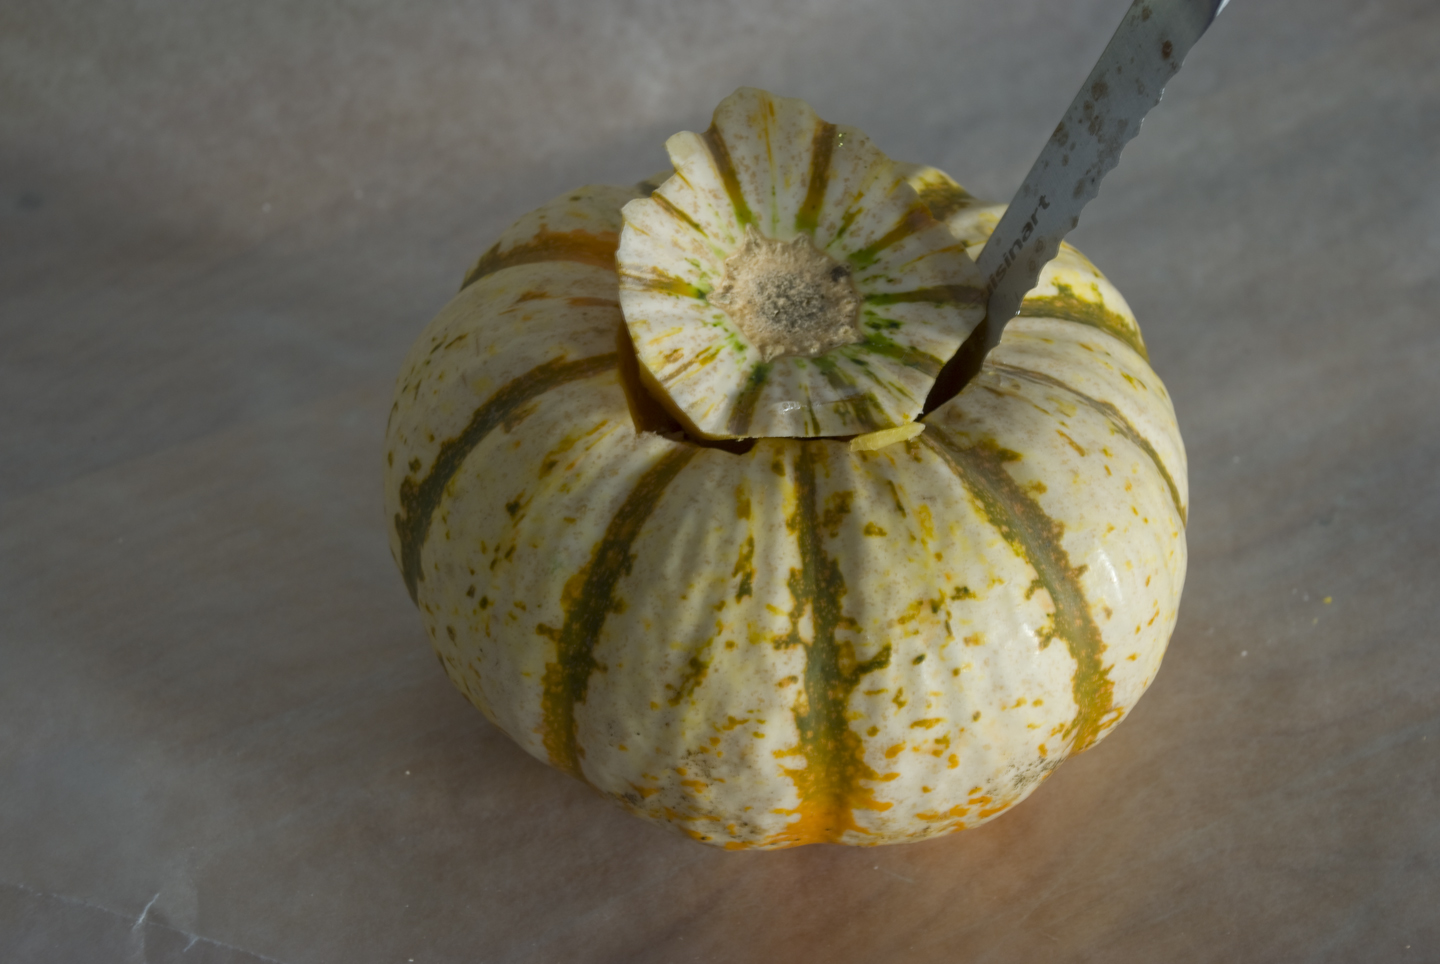
- Alright. The first step is the scariest one but we can do this. Look at your candle....now look at your gourd.....now back to your candle......now to your knife. That's called measuring. No. It's not. But you know me. I'm "ESTIMATOR"! I am she who laughs in the face of rulers....if rulers had faces. Clocks have faces, but we don't laugh at them. THEY laugh at us. That got deep guys. Good for us.
- OK. So I took scary to a new place on the last step but the scary part is actually just the cutting. So CAREFULLY, carve out a circle for us to shove a candle in. I went top down and slid the knife in at a 45 degree angle. Like a used to do to remove that spot of stem on a tomato....until I just started lopping the top of and eating around it. Appetizer! Oh...but don't eat the gourd piece. I actually shoved that piece right back into the tiny pumpkin to help fill the hollow spot because apparently.....SOME gourds are hollow. Who knew?
- Here's the fun part! The glitter glue! I chose beautiful green and orange glitter glues to help add to the natural coloring of the gourds I got. But if you think that blue or purple better fits in with your motif, go for it! People will be even less likely to mistakenly ingest it. Apply them however you want but I went with following the natural pattern. Like.....Mother Nature almost got it perfect but I helped. Allow glitter glue to dry before the next step. Or don't and make a hot mess. You're call.
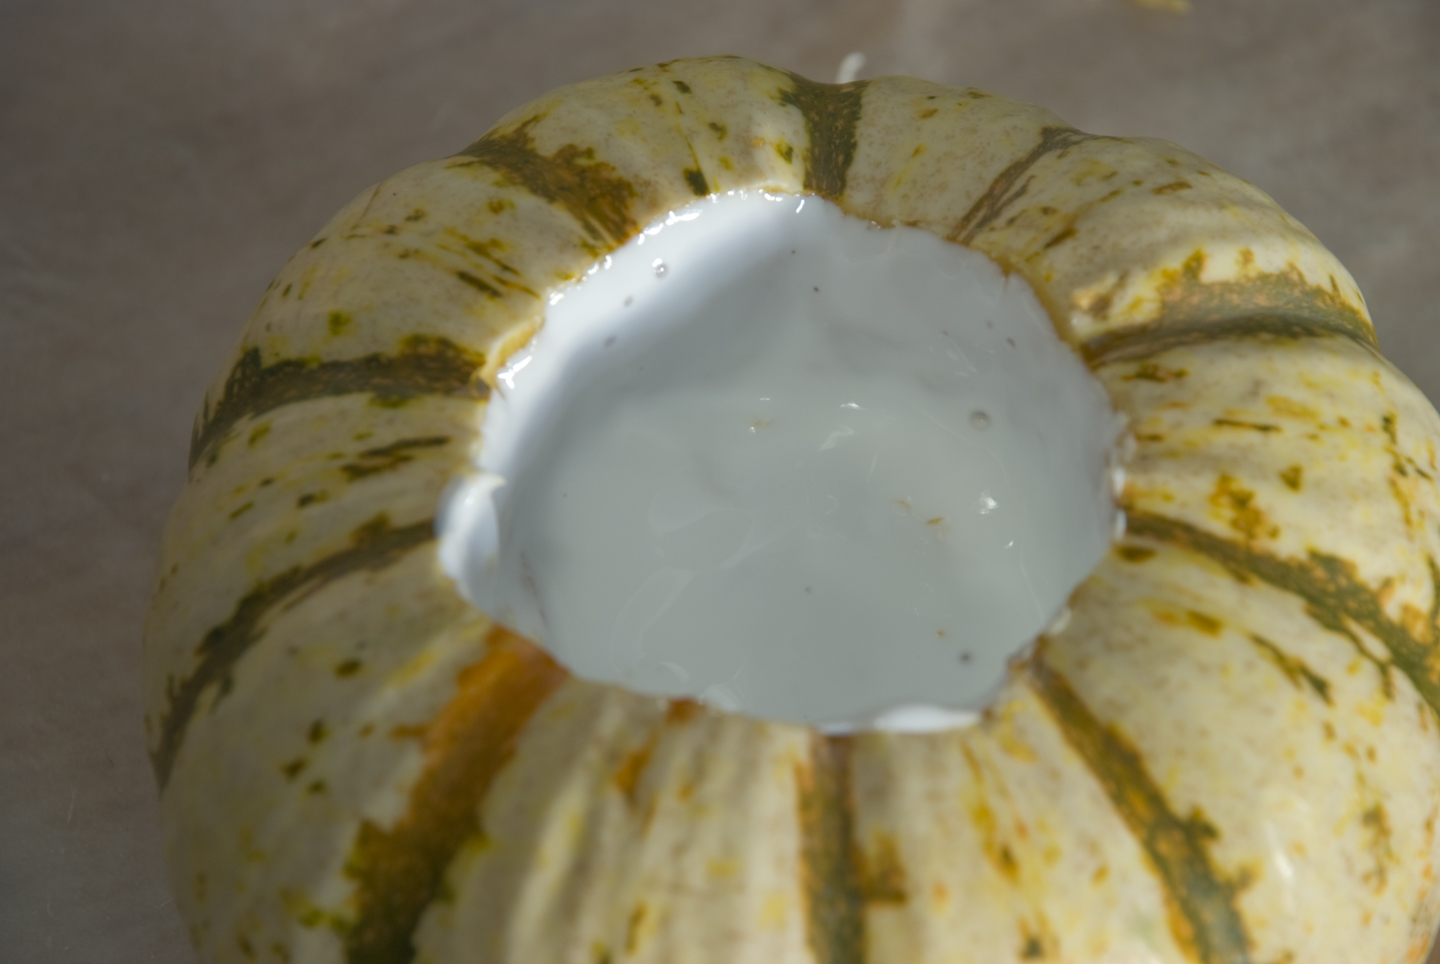
- Now we are staring at a gaping hole and we've literally just pushed fast forward on the rotting process. So what should we do? Well OBVIOUSLY we are going to coat that indentation we just carved. With what, you ask?!......THE PODGE! Pour a dollop of mod podge into the gourd's new "skylight". Take time to swirl it around for a bit so that it coats all the interior sides of the hole. Let sit FOREVER to dry. Maybe longer.
- 2 DAYS LATER- It's not completely dry. in fact....it never EVER will be. Because children, what never occurred to me was that the inside of a vegetable is wet! Barring us submerging this in some kind of shellac, preservation of food stuffs is borderline impossible. But, the mod podge will be dry to the touch, if you don't mess with it by poking your finger through to test it....someone told me.
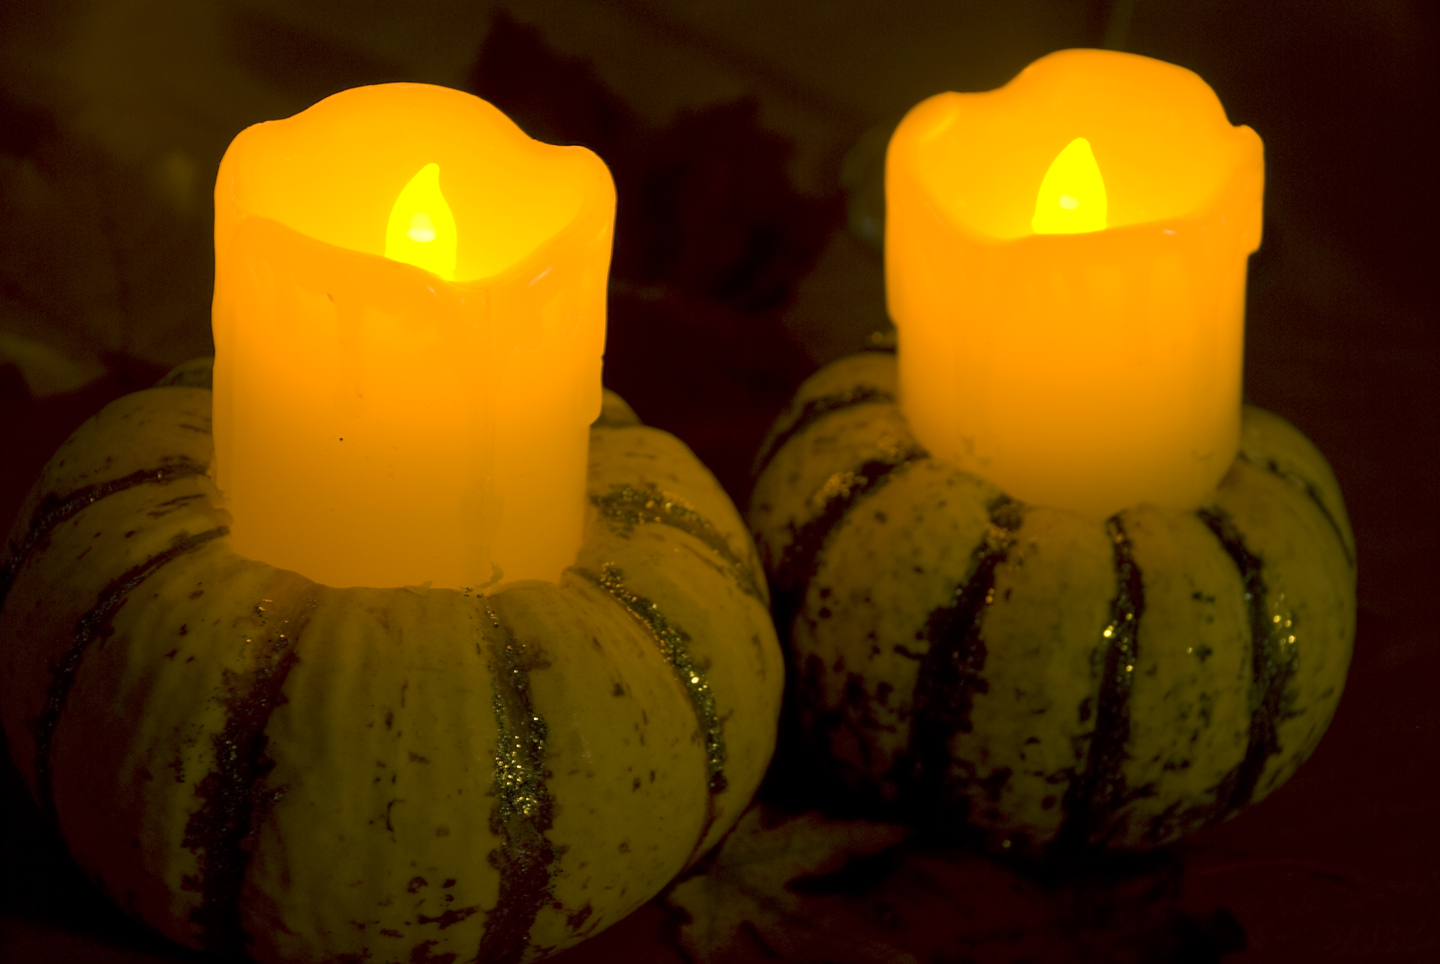
- So you see what a real candle is a better option for this. Once you place the candle in, you are not really going to touch the bottom of it again. But...the blog must go on. At least the photos must......so just know that I spent some time cleaning rotting gourd caked in goop off of my fancy faux candles. Make sure you throw this puppies right in the garbage with the giblets immediately after dinner. Seriously, I've never seen a craft rot so amazingly fast. Total opposite of a sparkly vampire.
The moral of this story: You can't Podge your way out of everything.
Once you put these beautiful additions onto your table your guests will be asking you........Is there any more stuffing? Could you pass the crescent rolls? Why didn't you get the CANNED cranberry sauce?! And that last one will be me. Because if it's not in that wiggly can shape, then it's NOT THANKSGIVING!
:) Brooke

From here on out, it's Christmas Crafty Hour! WAHOOOOOOO!