
See what I did there? ANYWHOOS.....Happy Sunday! If you're like me then you are anxiously awaiting the arrival of our next snowstorm with glee. But chances are you are like everyone else and have thrown in the shovel....if you will......and are wishing it was spring. Well how about I do you one better and teach you how to make a necklace of a bird's nest to REMIND you that truly warm weather is only a short 4 months away? How is that better? It's not.....but it's all you got, Buddy. Good thing you have someone like me to keep up your spirits, both in laughter and ice cream content.
So whilst Player 2 hogs the Play Station we'll learn how to make super cheap, super cute little necklace pendants that people will totally think it came from Anthropologie or something. That is the jewelry crafter's credo isn't it? "Make it look like it was handmade, but not by a 6 year old." The key to success is simplicity. Nature is ALWAYS an easy subject. It's usually mostly freeform but with some kind of pattern. Totally mimic-able. That's a word now.

START PLANNING YOUR ETSY SHOP NAME ON YOUR WAY TO GRAB:
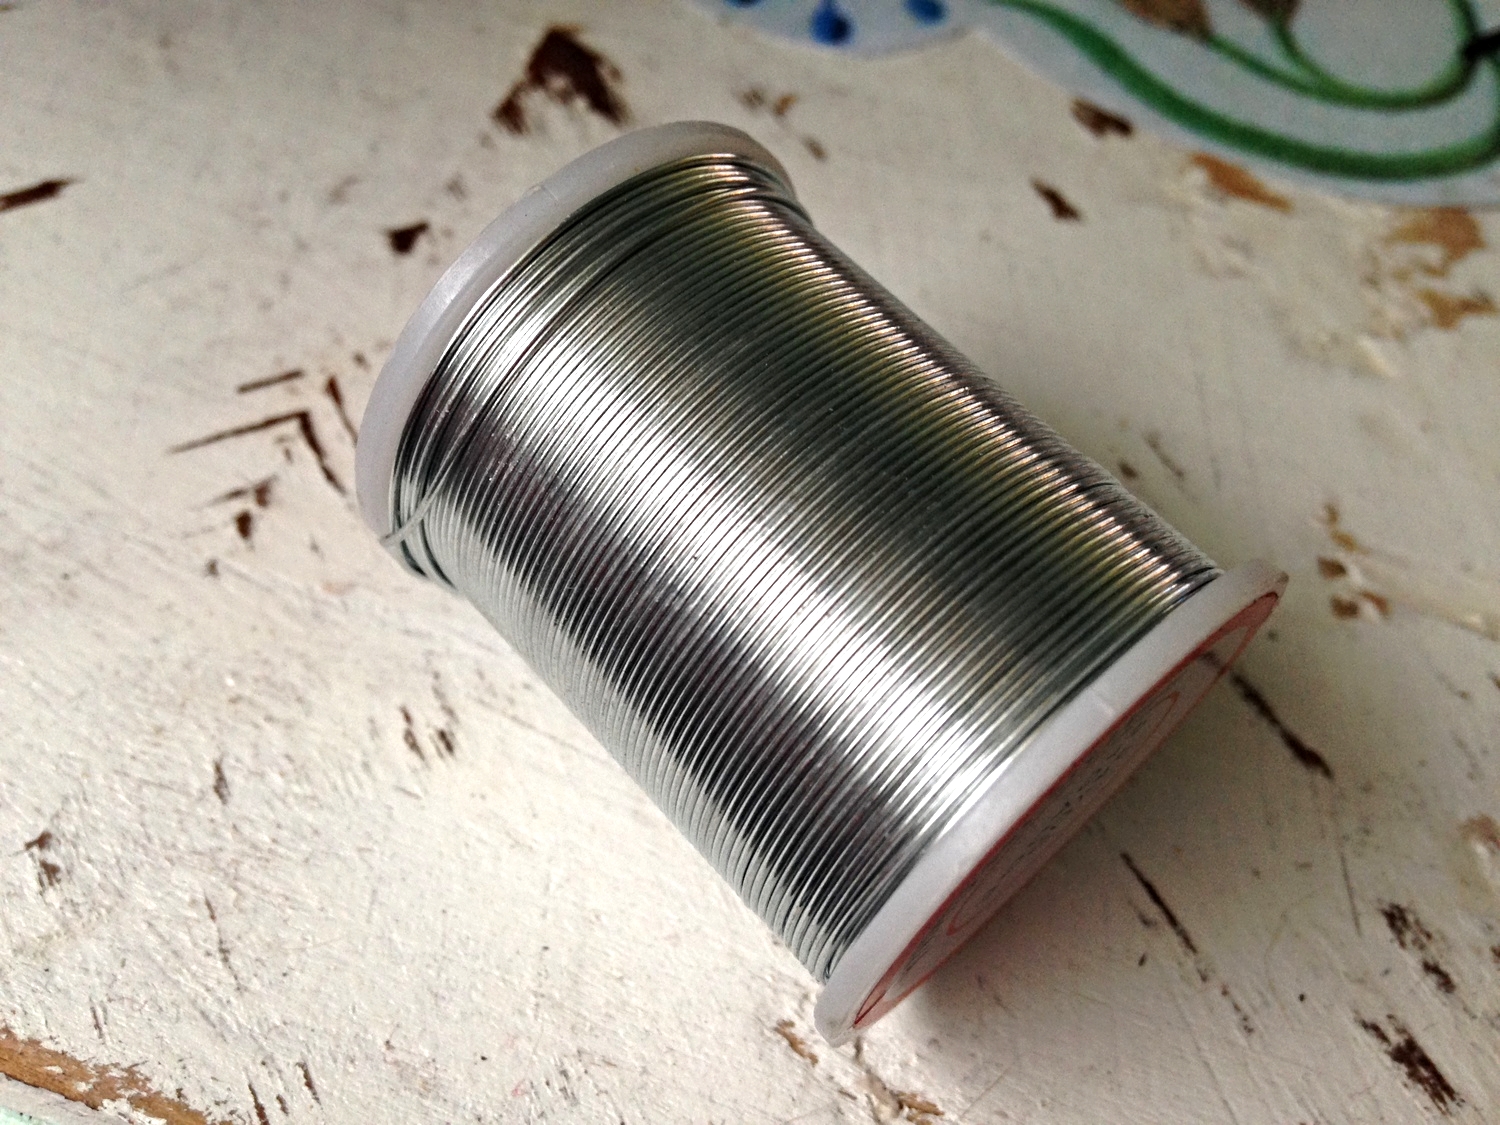
- spooled bead wire- I used 24 gauge but if you want a bigger pendant go for a smaller gauge like 22 or 20. It's Bizzarro World sizing. The lower the number the fatter the wire. And all of a sudden my size 12's don't seem so big.
- beads WITH holes through them- Prepare to spend a minimum of 43 minutes looking at each different package of beads. Sparkles, patterns, all colors, shapes and sizes!!!! I mean, who doesn't love trinkets?! I once found the coolest glass marble on a walk when I was 7 and I still have it in my jewelry box. I hang my necklaces on the wall because I like the way they sparkle and aspire to install metallic wallpaper in the very near future.....just like my Nana used to have. Shiny runs in the family.
- tiny loop rings- You know those things that keys are on? They make like really tiny versions of of them. They should be with all this razzamatazz.
- dexterity- Storm's a-brewin'. I felt it in my hands. I'm 35, going on 73. But a freaking cute 73.
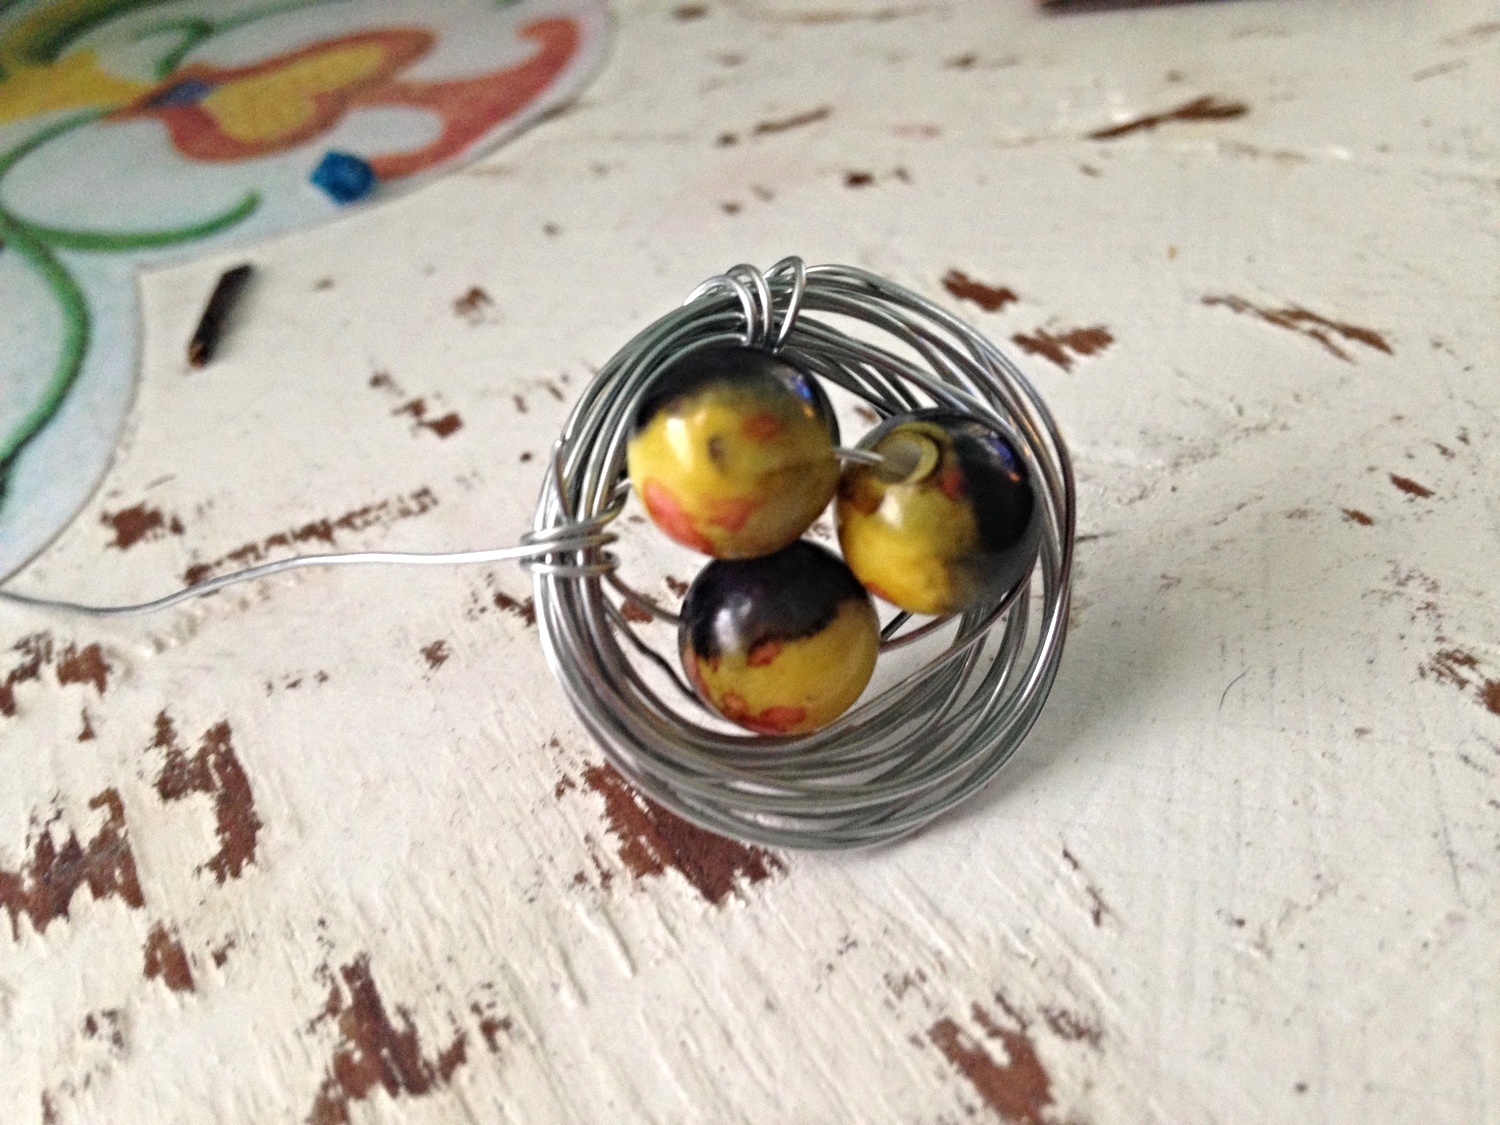
- Leaving the wire spooled, start to unravel a workable length of wire. About a foot should suffice but don't cut it yet. Otherwise YOU'LL RUIN EVERYTHING. Stop trying to ruin everything.
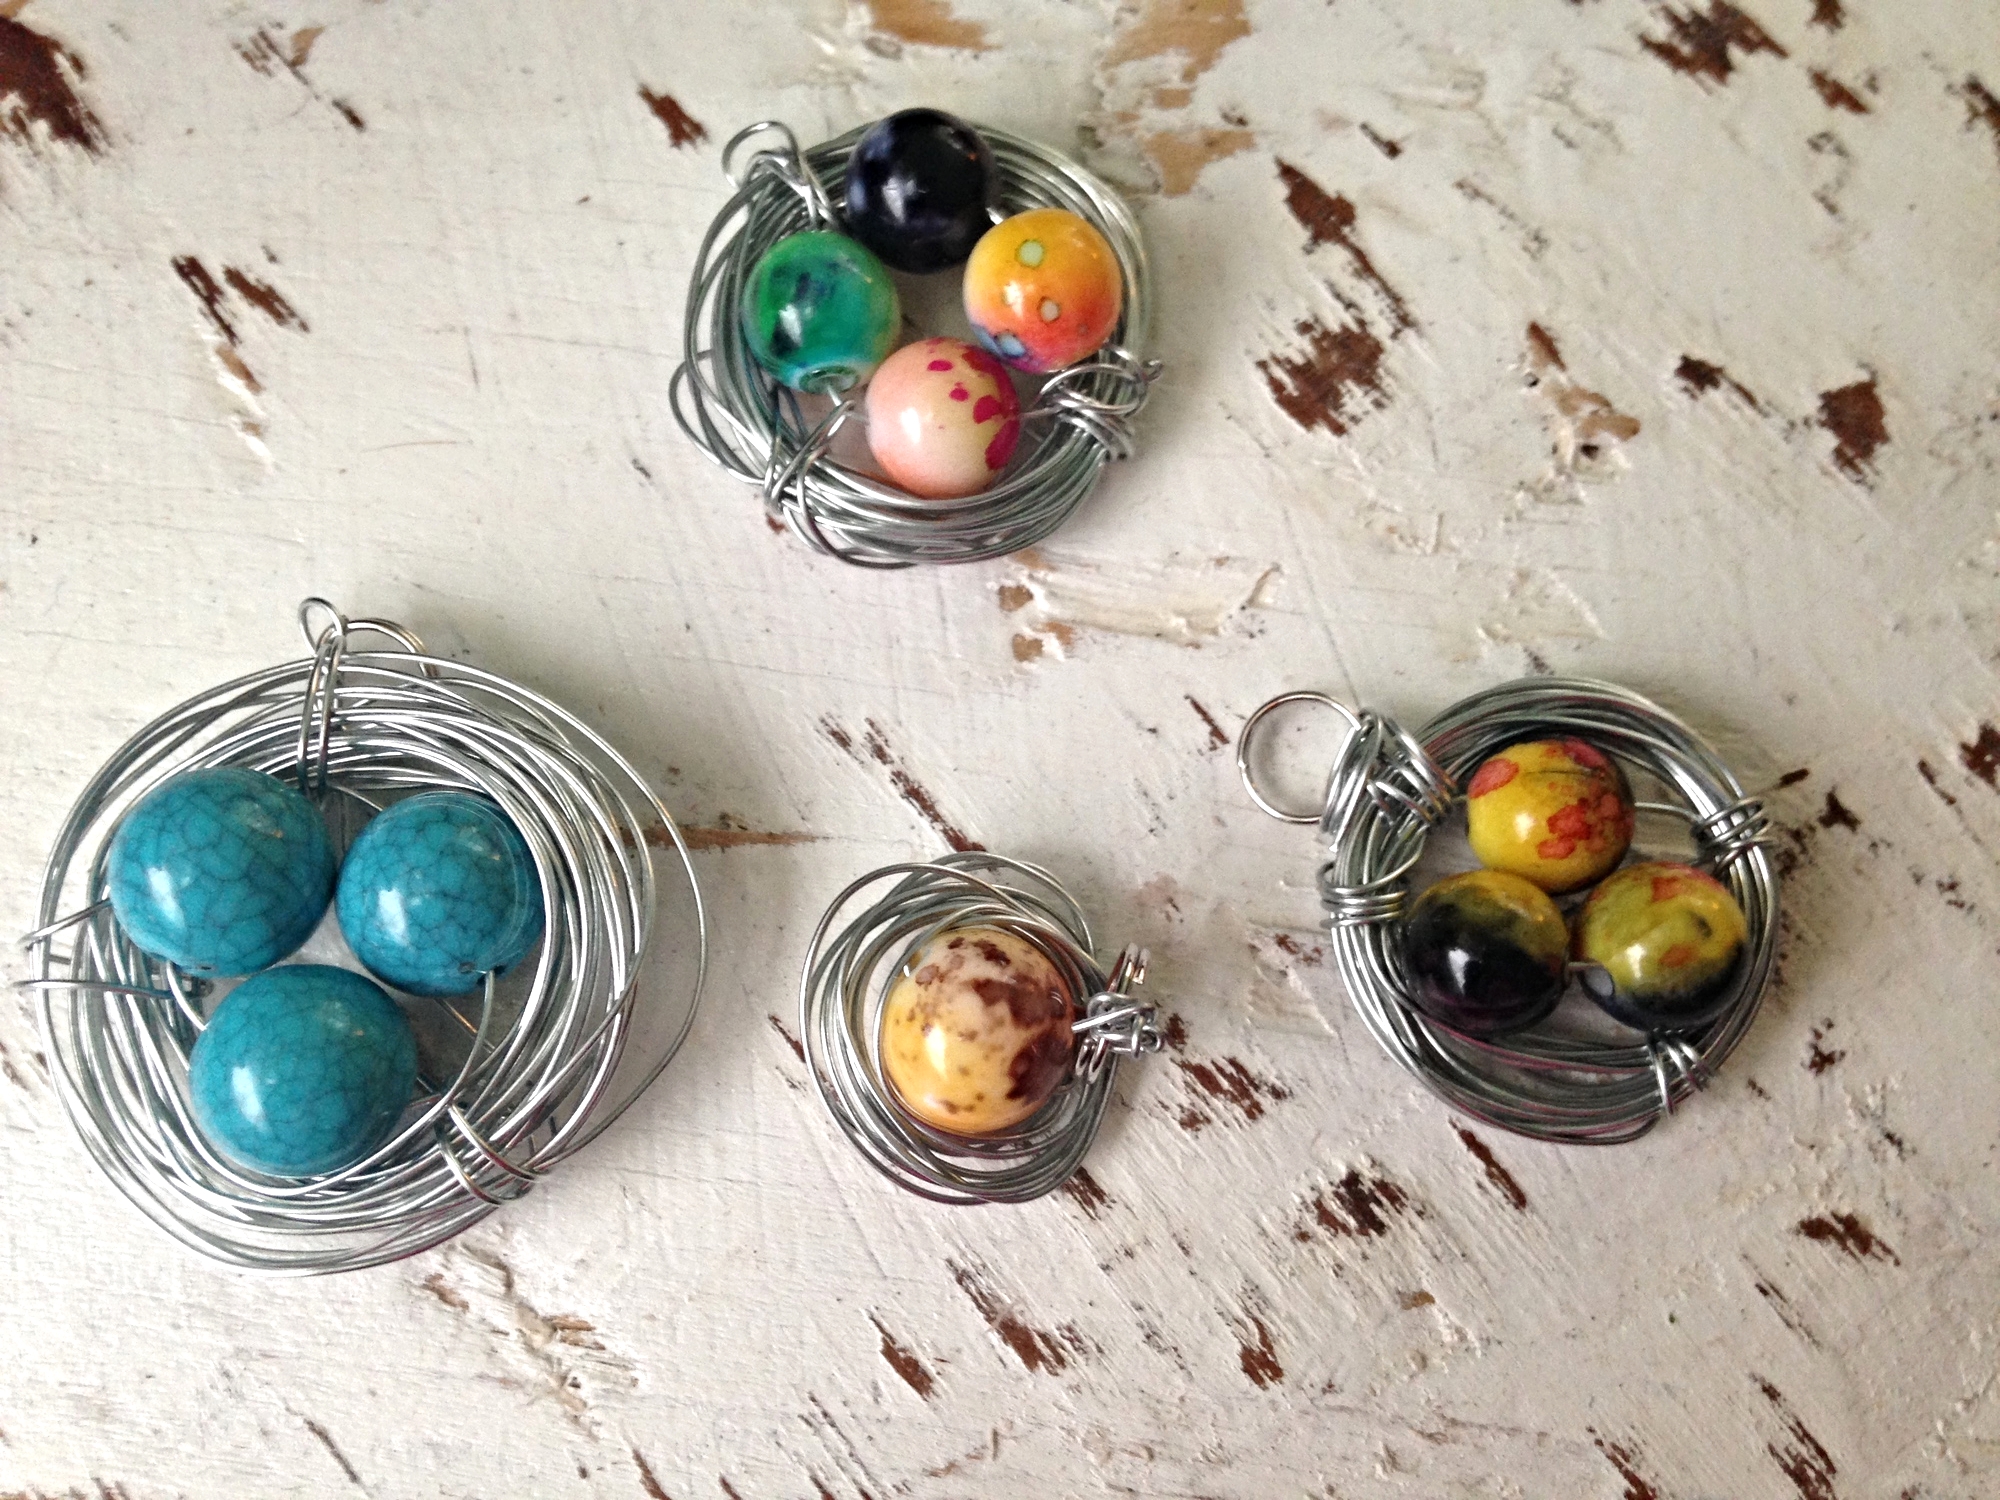
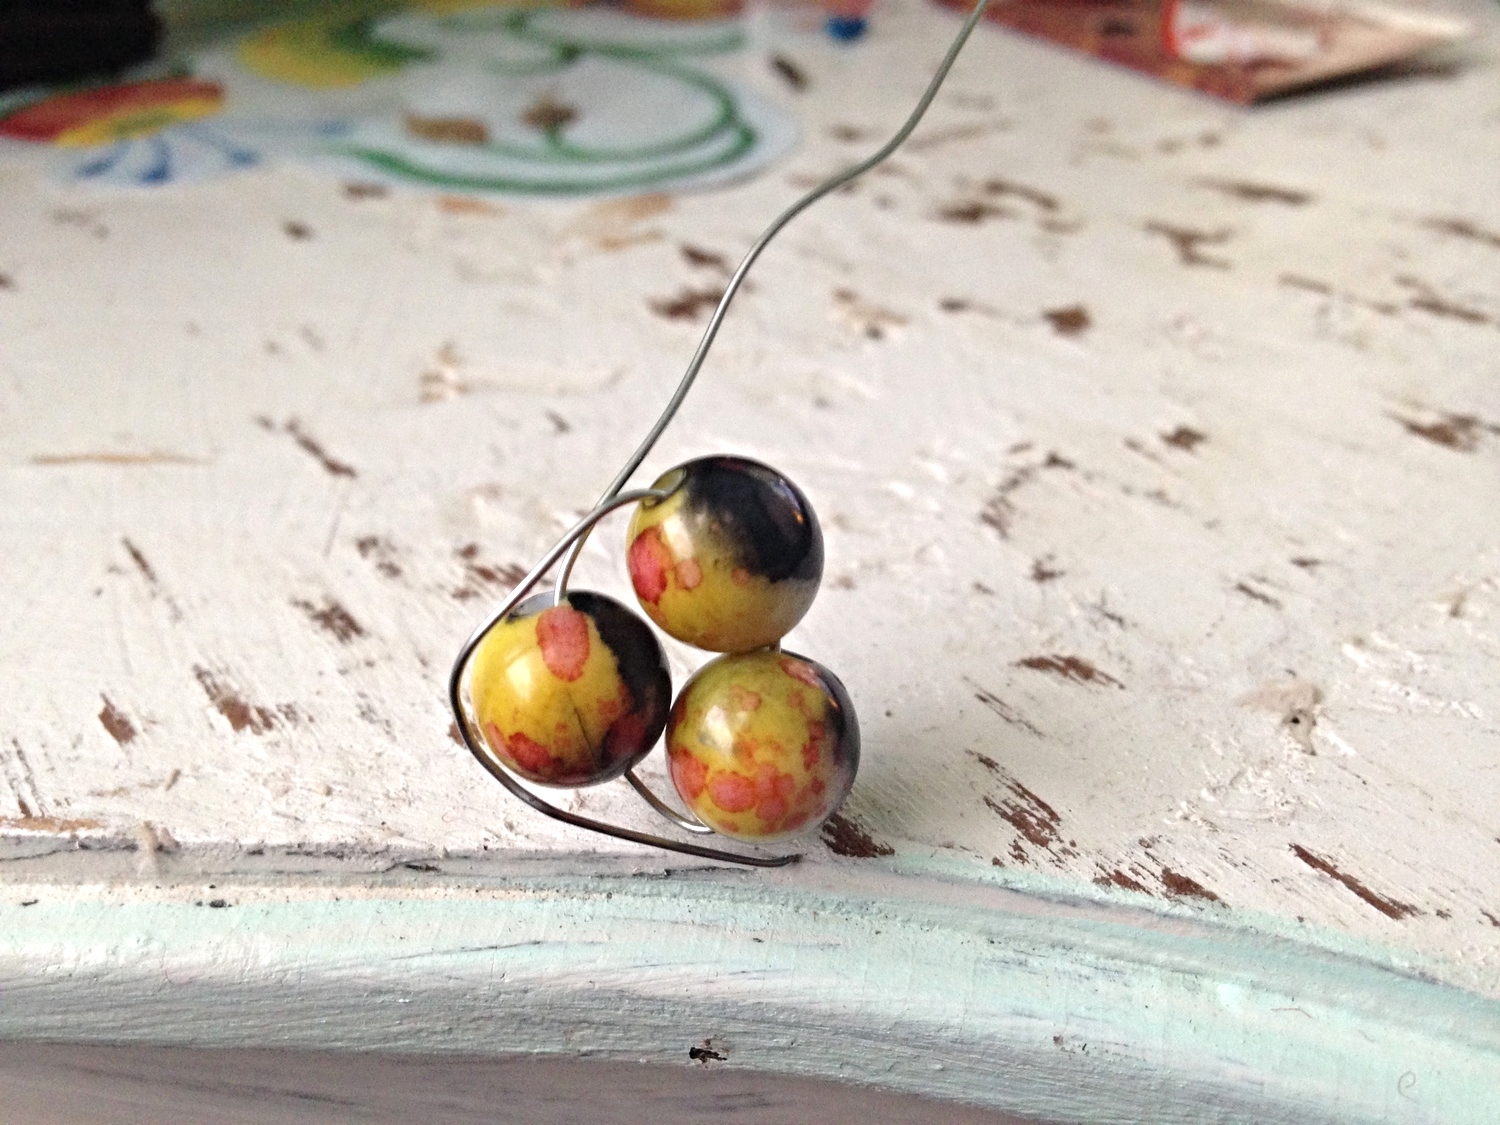
- Here's where YOU'RE the jewelry designer. Choose which beads you want in your nest. I think anywhere from 1-4 beads looks pretty sweet in our nest but it's up to you. If you think an even dozen is more your thing that's cool, but I'm pretty sure we just went from bird nests to turtle egg pile. Gross.
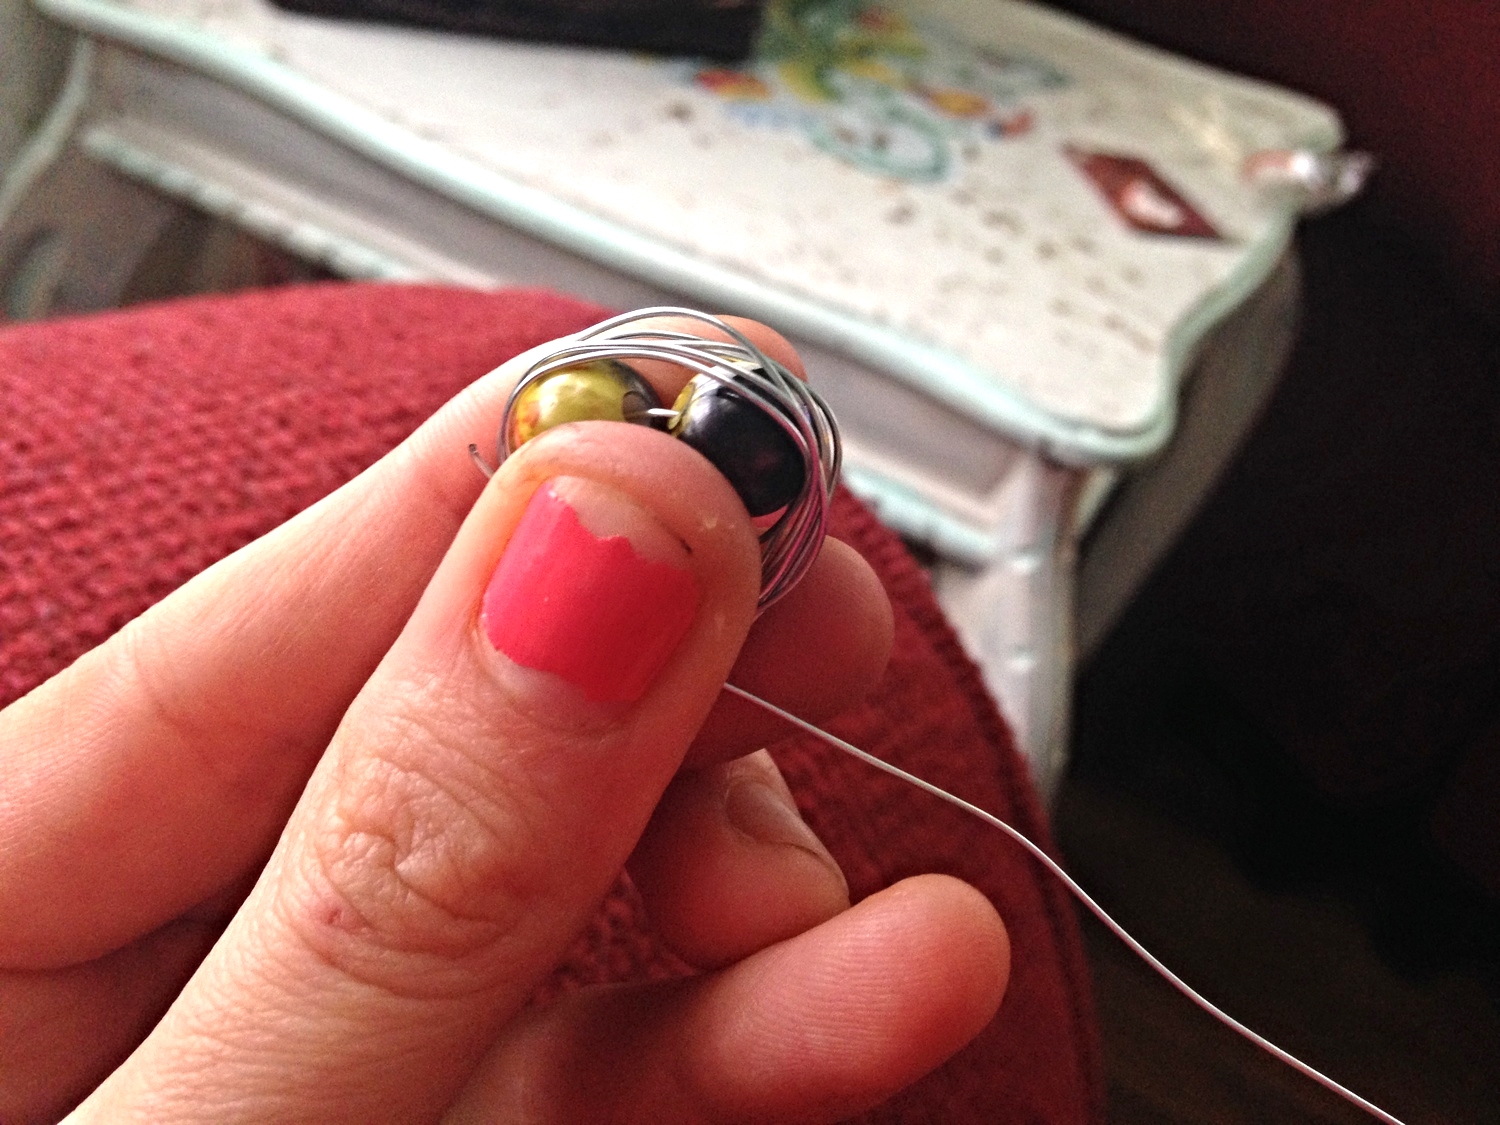
- Slide the beads on the wire and fold them into each other as you slowly start to wind the wire around and around. How long do you go for? Depends on what kind of nest you're building. Once the nest is thick enough to keep your little "bead babies" safe unravel another 6 inches or so and cut the wire.
- Come back with the wire and wrap it around the nest a couple of times to secure it. Doing this 3 or 4 times in total all around the nest will make a more finished look. Make sure that you leave no jagged parts sticking out. Tuck and wrap anything that might be irritating against skin. Or never ever wear this. OR give it to a sworn enemy as a "peace offering". How very super villainy of you!
- Slide a loop ring onto the last bit of wire and secure by wrapping the wire around and through the ring and nest. If it stays, you totally did it right. Nice work.
- Throw this basket of bird babies on a chain or a pretty ribbon and everyone will ask where you got such a fabulous find. Tell them......"Milan" and walk away.
If you run out now you can probably still get all of these supplies, AND hit the liquor store before you see flake one. Then you'll have something besides shoveling to look forward to. I've already got tomorrow's recipe made and photographed, food prepped for the week, and all of my chores done. That's right. Tomorrow's snow day has Player ONE written all over it.
:) Brooke

I wrapped the wire around one big bead and made a Saturn necklace, too. Then I took it's picture in my space bathroom.....because I rule.